
Before you start
- Trim, sills and door frames are where lead-based paint is most often found outside.
- Seal end grain and knots before priming.
- Acrylic latex holds gloss longer than oil-alkyd.
Trim is a small share of a house’s surface and a large share of its paint problems. Window sills catch water, door frames get bumped, and every joint and end of a board is a path for moisture. Getting trim right is what keeps a paint job looking fresh between full repaints.
Why trim fails first
The U.S. Forest Products Laboratory’s Wood Handbook explains that end grain absorbs water much faster than the face of a board and that unsealed end grain raises the moisture content of painted wood. Water entering joints in siding, railings or trim can also carry extractives to the surface and stain paint. Trim has more ends and joints per foot than any other part of the house.
Prep for trim
- Wash off dirt and mildew; sheltered trim under porches collects dirt that weakens adhesion.
- Scrape loose paint; on pre-1978 homes, follow lead-safe practices.
- Probe sills and the bottoms of door frames for soft wood and replace decayed pieces.
- Prime end grain and the edges of boards with an oil-alkyd primer where possible.
- Seal knots before priming so resin does not bleed through.
Lead on trim
The EPA notes that lead-based paint is most common in high-gloss paint on trim, such as window sills, door frames and railings. These are also friction surfaces, and the EPA warns that old lead paint on surfaces like doors and window sills can produce hazardous chips and dust. Under the EPA’s Renovation, Repair and Painting Rule, paid work that disturbs this paint in a pre-1978 home requires a certified firm, plastic sheeting on the ground at least 10 feet out and no open-flame burning or very hot heat guns. Read Painting an Older Everett Home: Lead-Safe Rules, Prep and What to Ask a Painter.
Tip: Do not dry-sand old window sills with a power sander. Mist and hand-sand, or use tools with HEPA dust collection.
Primer and paint
- Bare or newly repaired wood — Prime promptly, then two top-coats.
- Cedar or redwood trim — Stain-blocking primer to stop extractives bleeding.
- Knots — Seal before priming.
- Sound old paint — Wash and add one or two top-coats.
The handbook notes that latex top-coats can go over oil-alkyd primers, and that acrylic latex paints keep their gloss better than oil-alkyds, which tend to lose gloss within a year or two and become brittle. A semi-gloss or gloss on trim gives a durable, washable surface that contrasts with the body of the house.
Doors
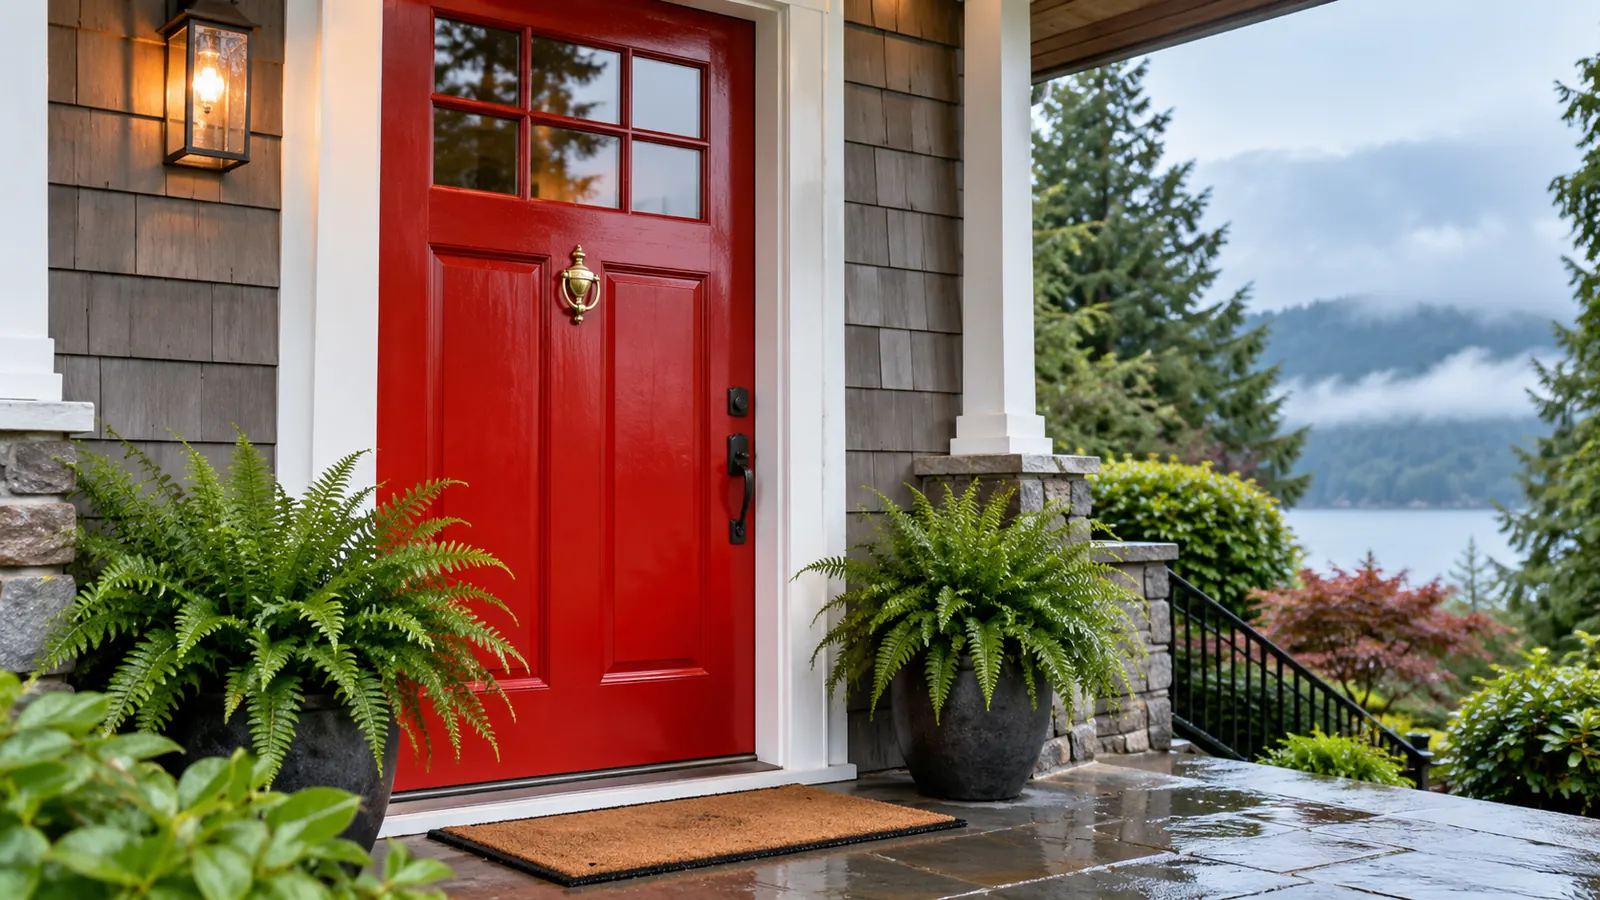
Exterior doors take sun, rain and constant handling. Paint all six sides of a door, including the top and bottom edges, so the end grain is sealed. Remove or mask hardware rather than painting around it, and let each coat dry fully before closing the door against weatherstripping.
Windows
Paint the sash and frame, but keep paint off moving parts and glass channels so windows still open. Window sills deserve an extra top-coat, because water sits on them. Check the caulk where trim meets siding; a sound joint keeps water out of the end grain behind it.
Timing
Trim work suits short dry spells, so it can fit in when a whole-house job cannot. Avoid finishing late in the afternoon if heavy dew is expected, the handbook advises, since dew on uncured paint causes wrinkling and loss of gloss. See Painting in Pacific Northwest Weather: Rain, Dew, Damp Wood and How to Work Around Them.
Common trim failures
The Wood Handbook singles out window and door trim as places where water gets behind paint. Water blisters, bubbles between the wood and the first coat, often form on siding and trim where rain enters through improperly flashed doors, windows and vents. Peeling at the bottom of door casings and on sills often traces back to water entering unsealed end grain. When you see these, look for the water path, fix flashing or caulk, let the wood dry and then repaint.
On older trim with many layers of paint, the handbook notes that old films are too rigid to blister; they tend to crack and peel instead. Repeated repainting builds a thick film that is prone to cracking, so remove loose and failing layers rather than adding more coats over them, using lead-safe methods on pre-1978 homes.
Finish with a close look at the caulked joints between trim and siding. A continuous, sound bead keeps water out of the end grain behind the trim, and the Wood Handbook stresses that keeping water out of the wood is what prevents blisters and peeling. Replace cracked or shrunken caulk before the final coat, not after.
Leftover trim paint, primer and stain can go to a PaintCare drop-off site at no charge; keep a labeled can of each trim color for touch-ups first.
For the full prep sequence, use Exterior Paint Prep Checklist for Everett Homes: From Washing to the Last Coat.
How long will your paint or stain last? Try the paint life check.