
Before you start
- Check the year your home was built; before 1978 means possible lead paint.
- Prime and paint end grain; seal knots before priming.
- Primer plus two top-coats gives the longest service life.
Most paint failures start with skipped preparation. This checklist puts the work in order, from the first question to ask about an older house to the last coat, with the reasons behind each step. Use it whether you are painting yourself or reviewing a contractor’s plan.
1. Check for lead first
If the house was built before 1978, older layers may contain lead-based paint; the EPA notes that the older the home, the more likely it is. Lead paint is often found in high-gloss paint on trim such as window sills, door frames and railings. If you cannot determine the age, the EPA says it is safest to assume lead is present. See Painting an Older Everett Home: Lead-Safe Rules, Prep and What to Ask a Painter.
2. Wash
- Test dark spots with a drop of bleach to tell mildew from dirt.
- Clean mildew with a dilute bleach, water and powdered detergent solution, as described in Mildew, Algae and Moss: How to Clean Siding Before You Paint in the Northwest.
- Wash sheltered areas such as porches and soffits too; the Wood Handbook says dirt there reduces adhesion.
- Rinse with the water pointed down, at low pressure.
3. Inspect and repair
Walk the whole house. The Wood Handbook points to the usual trouble spots: the end grain of railings, brick molding, siding that butts against a roof and the bottoms of porch posts. Decayed wood does not hold paint, and decay often starts inside while the surface looks fine, so probe suspect areas with an ice pick and replace soft boards.
Tip: Mark every repair with painter’s tape as you walk around. It keeps the list honest and shows the crew exactly what you found.
4. Scrape and sand safely
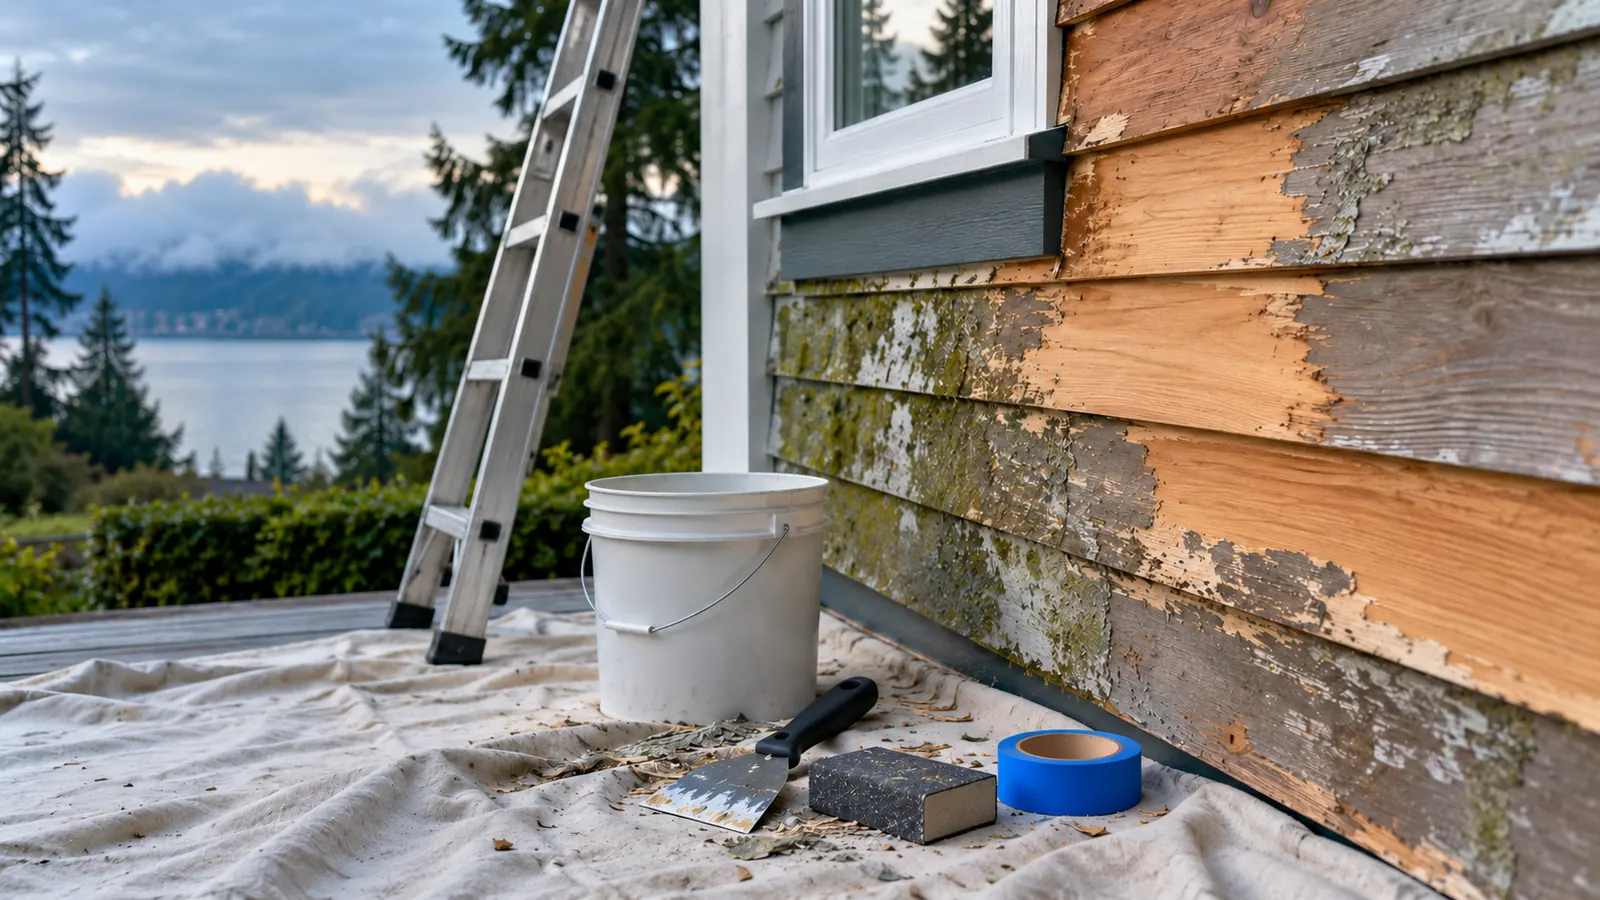
Remove loose and peeling paint. On a pre-1978 house, follow lead-safe practices: the EPA’s rules for paid renovators require plastic sheeting on the ground at least 10 feet out from where paint is disturbed, and prohibit open-flame burning, heat guns above 1,100 °F and power tools without HEPA dust collection. Homeowners working on their own homes are generally not covered by the rule, but the EPA recommends the same practices.
5. Seal knots and end grain
The Wood Handbook recommends sealing knots before priming, then applying primer and two top-coats. Paint all end grain, such as the ends of siding and trim, with an oil-alkyd primer where possible, and check that siding meeting a sloping roof has a 2-inch gap so it is not sitting in water.
6. Check moisture and weather
Paint when the wood’s moisture content is near what it will be in service, about 12%; above 20%, the risk of blistering and peeling rises. Avoid starting late in the afternoon if heavy dew is expected. Everett’s driest months are July and August; see The Best Time to Paint a House in Everett: Reading the Calendar and the Siding.
7. Prime, then two top-coats
| Step | Why |
|---|---|
| Prime bare wood promptly | Bare wood left to weather loses paint adhesion |
| Stain-blocking primer on cedar and redwood | Blocks extractives that discolor paint |
| Two top-coats | A two-coat system gives about half the service life of three coats |
| Aim for 4 to 5 mils total dry film | The Wood Handbook’s target for primer plus two top-coats on smooth wood |
The handbook gives a typical repaint coverage of about 400 square feet per gallon, which is a useful check on whether enough paint is going on. It also says latex stain-blocking primer should dry for at least 24 to 48 hours before the first top-coat.
8. Clean up and dispose
Washington’s paint stewardship program, PaintCare, overseen by the Department of Ecology, takes leftover house paint, primers, stains and sealers at drop-off sites at no charge. Containers must have lids and original labels, and aerosols are not accepted. Debris from lead-based paint is hazardous waste and must be handled under federal and local rules.
Know what you are fixing
Before you choose products, identify how the old paint failed, because the cure differs. The Wood Handbook describes several common patterns. Water blisters are bubbles that form between the wood and the first coat, usually when paint goes onto wet wood or rain gets in through poorly flashed doors, windows and vents; the only prevention is keeping water out of the wood. Peeling and flaking, where primer lets go of the wood, is driven mostly by water and by wood left to weather before priming. Chalking, a powdery surface, has to be scrubbed off with detergent before repainting.
| What you see | Likely cause | What to do |
|---|---|---|
| Bubbles that later collapse or peel | Water in the wood behind the paint | Find and stop the water source; let wood dry |
| Peeling down to bare wood | Water, or wood weathered before priming | Scrape, prime promptly, two top-coats |
| Powdery chalk on the surface | Normal aging of the paint | Scrub with detergent, rinse, repaint |
| Brown spots over knots | Resins and extractives in knots | Seal knots with shellac or knot sealer |
On knots, the handbook is specific: coat them with shellac or a specially formulated knot sealer, not varnish, then prime and apply two top-coats. Oil-based and latex primers alone do not block knot extractives.
For trim, doors and windows, see Painting Trim, Doors and Windows in the Northwest: Prep, Primers and Lead; for the bigger plan, How to Hire a House Painter in Everett: Registration, Bonds, Bids and Red Flags.
How long will your paint or stain last? Try the paint life check.